1. Start with Simple Fixes

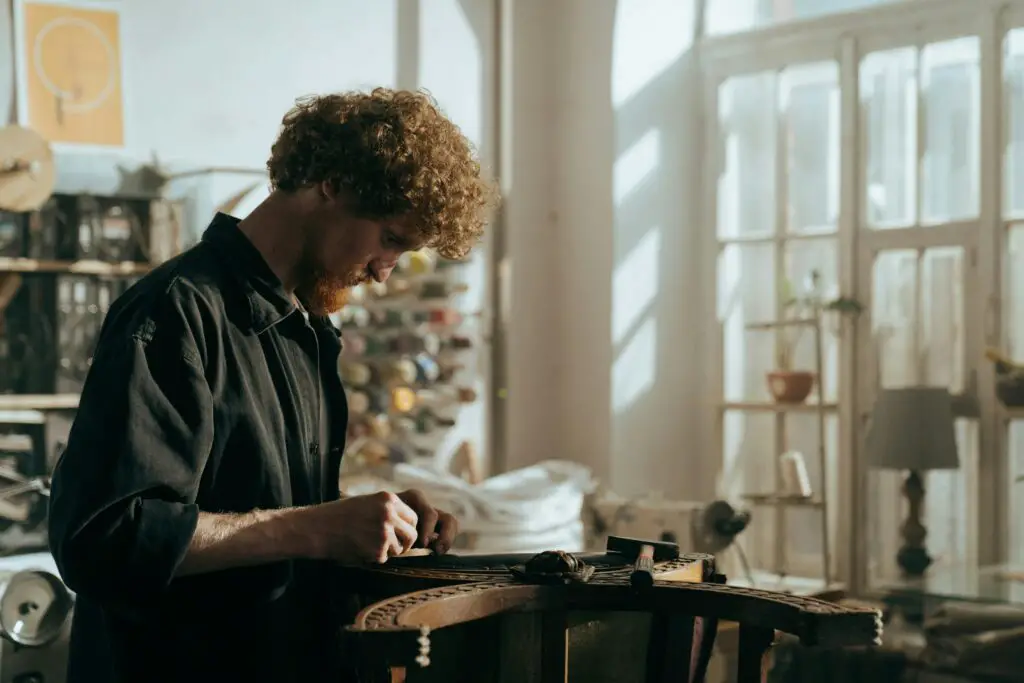
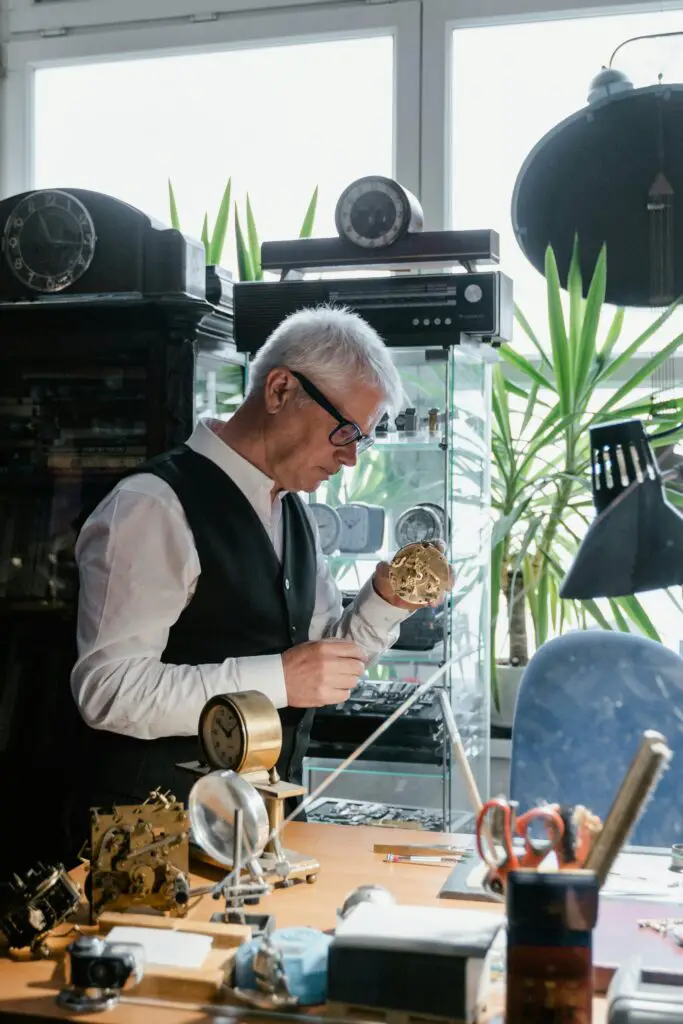
If you’re new to antique restoration, start small. Fixing loose screws, tightening joints, or applying a bit of polish can make a big difference without feeling overwhelming. You don’t need to tackle a full overhaul right away.
2. Gather Basic Tools
You don’t need an entire workshop to restore antiques. Some basic tools—like a screwdriver, wood glue, fine sandpaper, and a soft cloth—are enough to get started. As you grow more confident, you can add specialized tools to your kit.
3. Clean Before You Restore
Before diving into any big restoration projects, give your antique a good cleaning. Dust and grime can hide damage or wear, and cleaning can sometimes make the piece look better instantly. Use mild soap and water or a specialized cleaner for delicate items.
4. Use Wood Filler for Small Scratches
Got small scratches or dings in wooden furniture? Wood filler is your best friend. Apply it to the damaged area, let it dry, and then sand it smooth. It’s an easy way to fix imperfections without needing advanced skills.
5. Try Chalk Paint for an Instant Refresh
Chalk paint is a beginner’s dream. It requires no sanding or priming, and it dries with a matte finish that adds vintage charm. Plus, it’s super forgiving—perfect for your first DIY project. Paint your piece, let it dry, and lightly distress the edges for a shabby-chic look.
6. Don’t Be Afraid to Sand

If you’ve got an old, worn-out piece of furniture, sanding it down can do wonders. Use fine-grit sandpaper to smooth the surface, especially if there are rough spots or old paint. Just be gentle—you don’t want to overdo it and lose the character of the piece.
7. Refresh with Furniture Wax
A coat of furniture wax can make your restored piece shine. It’s easy to apply with a soft cloth, and it’ll bring out the wood’s natural grain while adding a layer of protection. Buff it out for a nice finish without much effort.
8. Reupholster the Easy Way
Reupholstering might sound intimidating, but you can start with simple projects like dining chairs or small stools. A staple gun and fabric of your choice can transform a tired seat into something fresh and stylish with minimal stress.
9. Use Vinegar to Remove Rust
For metal antiques, rust can be a real eyesore. Soak a cloth in vinegar and gently rub the rusted areas. Vinegar breaks down rust without damaging the metal. For tougher spots, you can leave the vinegar on for a few hours before scrubbing lightly.
10. Don’t Over-Restore
It’s easy to get carried away, but part of the beauty of an antique is its age. Preserve as much of the original charm as possible. Focus on small fixes, and avoid over-restoring to the point where the piece loses its vintage character.
11. Learn the Art of Distressing
Distressing furniture is a great way to give it a worn, vintage look. After painting or staining, use sandpaper to gently wear down the edges or high points where natural wear would occur. It’s a quick way to make a piece look like it’s been around for ages!
12. Take Your Time with Paint Removal

If you’re stripping old paint or varnish, patience is key. Use a chemical paint stripper for tougher jobs and a plastic scraper to avoid damaging the wood. Go slow—it’s a messy process, but it’ll reveal the beautiful original surface beneath.
13. Use Stencils for Personal Flair
Want to add a unique touch to your restored piece? Stencils are an easy and stress-free way to add designs without needing an artist’s hand. Simply place the stencil where you want, apply paint, and remove for a crisp, professional look.
14. Practice Patience
Restoring antiques, even as a beginner, can be a slow process. Don’t rush it. Take your time, enjoy the process, and don’t worry about perfection. Your restored pieces will look all the more special because you’ve put care and effort into them.
With these beginner-friendly tips, you can dive into DIY antique restoration without the stress. Enjoy the process and have fun breathing new life into your pieces!


