1. Start with a Gentle Clean

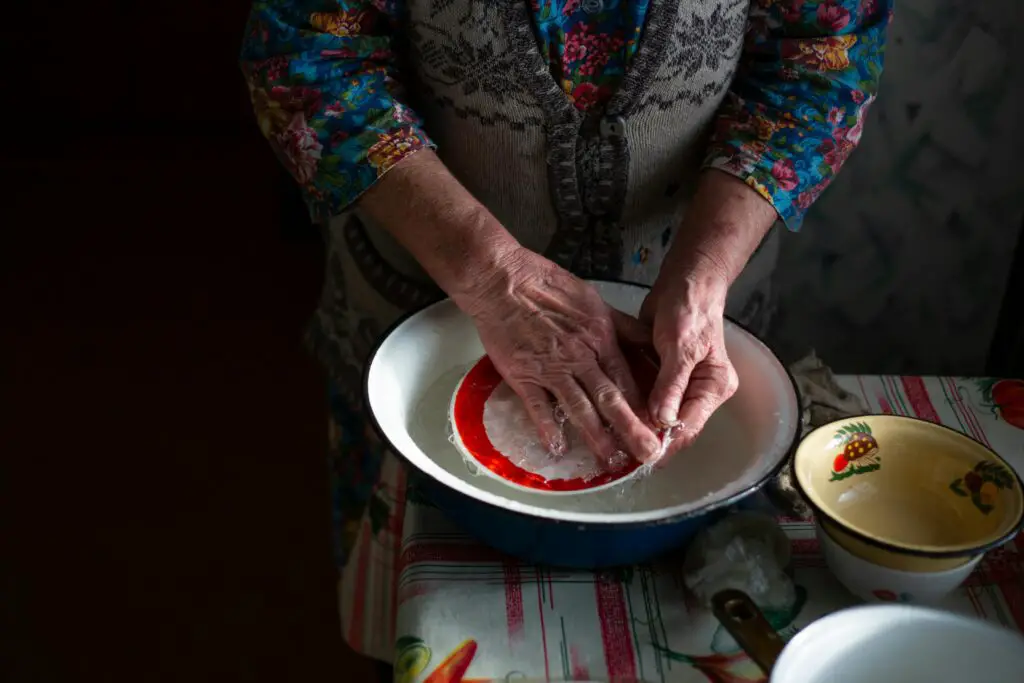
Before diving into any major restoration, give your antique a gentle clean. Use a soft cloth and mild soap to wipe away dirt and grime. Be careful not to scrub too hard—you don’t want to damage any finishes or patina that adds character to the piece.
2. Know When to Stop
Sometimes, the charm of an antique lies in its imperfections. Don’t feel like you need to restore every little ding or scratch. A bit of wear and tear often tells the story of the piece and adds to its value.
3. Use Furniture Wax for Wood
If your wooden antique looks a bit dull, furniture wax can work wonders. Apply a thin layer of wax with a soft cloth and buff it out for a natural shine that brings the wood back to life. It’ll also help protect the surface from future damage.
4. Remove Rust with Vinegar
For metal antiques that have rust spots, vinegar is a great, non-abrasive solution. Soak a cloth in vinegar and rub the rust spots gently. For stubborn rust, you can soak the item in vinegar for a few hours before scrubbing lightly with a soft brush.
5. Avoid Harsh Chemicals
When cleaning or restoring antiques, stay away from harsh chemicals that can damage delicate materials. Opt for gentle, natural cleaners like vinegar, baking soda, or mild soap. If in doubt, less is more when it comes to antique care.
6. Patch Up Veneer with Care
If your antique has veneer that’s chipped or peeling, you can patch it up yourself. Use wood glue to carefully reattach the loose pieces. For missing areas, cut a new piece of veneer to size, glue it on, and sand it down for a smooth finish.
7. Repair Upholstery with a DIY Kit
Got an antique chair or sofa with ripped upholstery? You don’t need to be an expert to patch it up. Look for DIY upholstery repair kits that include fabric patches and a simple guide to help you restore the piece without losing its charm.
8. Bring Back Shine to Metal

If your metal antiques have lost their luster, a bit of polish can work wonders. Use a metal polish suitable for the type of metal—like brass or silver—and a soft cloth to buff the surface until it shines again. Avoid over-polishing, which can strip away patina.
9. Fill in Wood Scratches with Wax Sticks
Minor scratches on wood can often be filled in using wax sticks or crayon-like repair fillers. Match the color as closely as possible to the original wood, rub it into the scratch, and then buff with a soft cloth. It’s a quick fix that hides small imperfections.
10. Remove Water Rings from Wood
Water rings on wooden furniture are a common issue, but they don’t have to be permanent. One trick is to place a cloth over the ring and iron it on low heat for a few seconds. The heat can help draw out the moisture and minimize the ring’s appearance.
11. Re-glue Loose Joints
Wobbly furniture legs or loose joints can easily be re-glued. Use wood glue specifically designed for furniture, apply it to the joint, and clamp the piece until the glue dries. This simple fix can make your antique sturdy again without compromising its original structure.
12. Refresh Leather with a Conditioner
Leather antiques, like chairs or suitcases, can dry out and crack over time. Restore their softness by applying a leather conditioner. Rub it in with a soft cloth and let it absorb before buffing away any excess. This will also help prevent further cracking.
13. Fix Chipped Porcelain with Epoxy

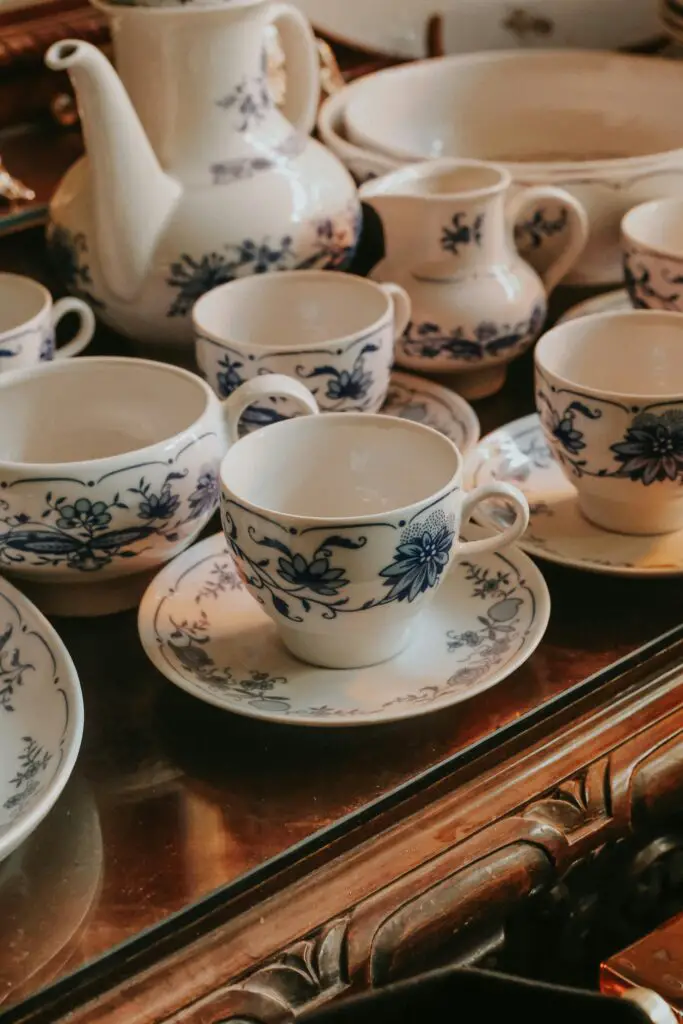
If your porcelain piece has small chips, epoxy is your best friend. Mix a small amount of clear epoxy and carefully apply it to the chipped area with a toothpick. Once it dries, you can sand it lightly and paint over it to match the original color.
14. Polish Glass and Mirrors
Antique mirrors and glass surfaces can lose their shine over time. Clean them with a mixture of water and vinegar to remove streaks and grime. For scratches on glass, you can use a glass polishing kit to buff them out, leaving your mirrors looking good as new.
15. Preserve Original Finishes
Sometimes, less restoration is more, especially when it comes to original finishes. If your antique has its original paint, varnish, or fabric, try to preserve it as much as possible. Over-restoring can reduce the value of the piece.
16. Know When to Call in a Pro
While DIY restoration is fun and satisfying, some projects are better left to the experts. If your antique is particularly valuable or delicate, consult a professional restorer. They’ll have the expertise to handle tricky repairs without causing further damage.
With these restoration tips, you can breathe new life into your antique finds and keep their charm intact. Happy restoring!


